

A reader wrote in and sent a reference video (the first one with the gold bracelet) as well as a few other effects asking how it was done.
We’re going to cover the basic steps you need to recreate it as well as the thought process behind figuring out how it was done. My version is the red ring that plays 2nd in the video.
If you’re looking for some new design ideas for ads, are a beginner looking for practical projects, or just want to send this to your video editor to have in their back pocket, you will have something to work with.
Also, if this kind of post is helpful to you or your editors, let me know in the comments!
Between things like this and some of the editing I’ve done for BowTied Bull I’m asked to do this sort of thing fairly often.

Look for Flaws.
Figuring out an effect is usually a lot of experimentation, guess and test, as well as diving on forums and YouTube looking for answers.
You need to break up a final product into a process with individual steps. However, sometimes you get stuck because you can understand how they got things to a certain point, but hit a step where there is a leap you don’t know how to make.
Often the big clues to these things are in the imperfections. Sometimes this means watching frame by frame or zooming in super close.
In this case, however it’s actually pretty obvious so I didn’t have to do any of that!
Here’s what I can see right away:
The bracelet and background aren’t moving. This is a picture. If you want to get ambitious and mask out the background to add motion & polish you can, but you might not have to for an ad. If this was an ad for a high end brand, different story. But for the masses, the crap often performs.
What’s moving? The colored smoke. Notice how it doesn’t line up so well on the left side? That’s a sloppy masking job.
So you need a picture of some cheap bling and smoke. Everything else is just tweaking it to taste.
The Basic Effect
The basic effect is going to just be adding colored smoke over an image and masking out parts where we don’t want smoke. Whats the best way to add smoke? Get some footage of smoke on a green screen or black background and key it out. If you want to know more about keying in general, see this guide.
I went and grabbed an image of a ring on a dark background and some stock green screen smoke to start.
Drop the picture of the jewelry onto a layer in Premiere and the green screen smoke on a layer above it, then add the Ultra Key effect to the smoke layer. Set the key color to the green in the footage using the pen tool.

The green pixels should now be transparent.

The smoke position and size can be adjusted as needed. I chose a circular smoke puff, but depending on your starting image you may want to try something else. The reference image appeared to have a vertical haze rising upward. Your call on what makes sense.
Match Color
Next challenge is matching color of the smoke to the color of the jewel.
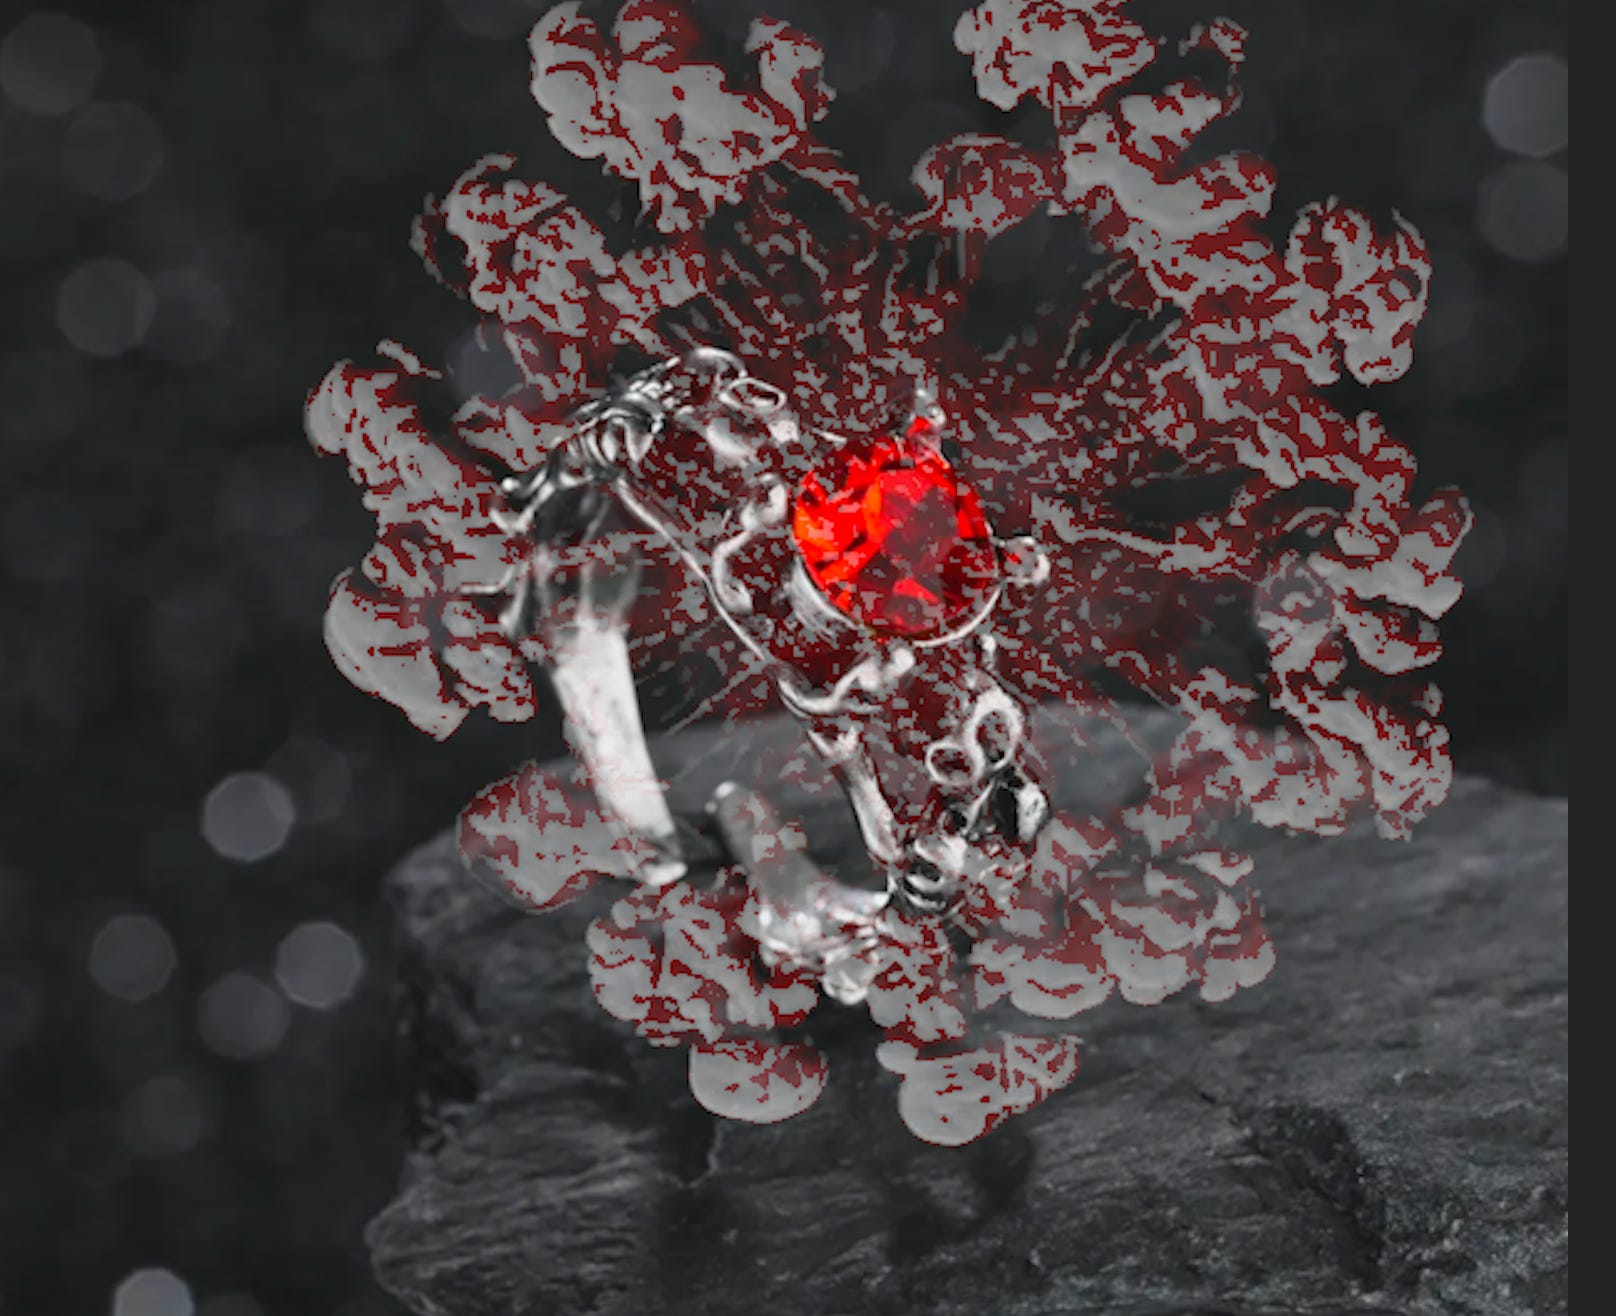
Add the Color Replace effect to your smoke. Set the target color to the smoke and the Replace color to what you want to match.

Turn up the Similarity control to make sure the smoke fills out the smoke. Remember, the smoke will not be one uniform color of grey, so you want to color match the shades of gray adjacent to the ones you picked as your target.
Before:
After:
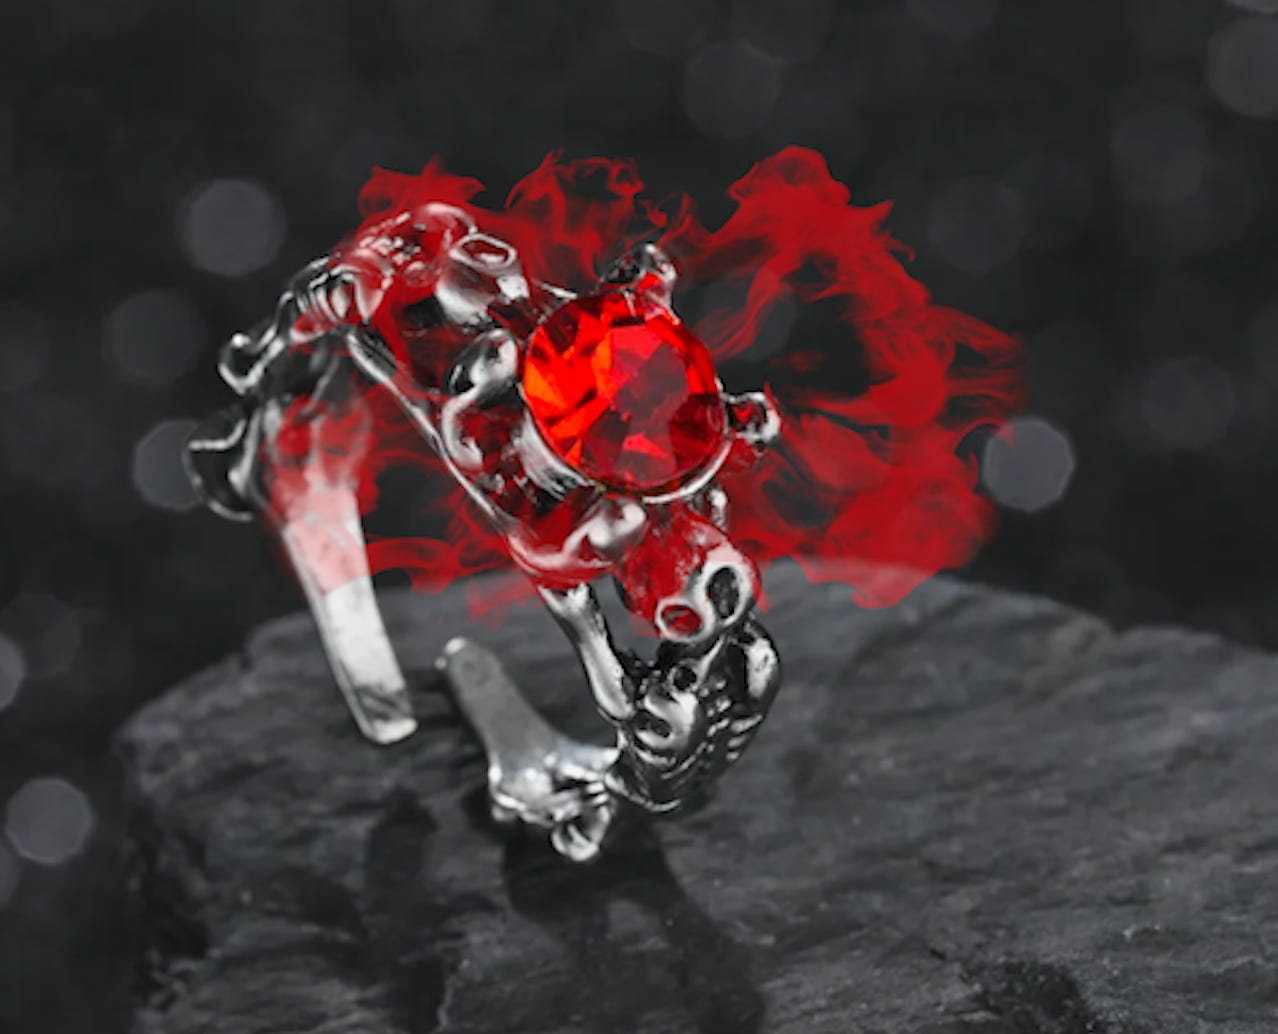
Adjust blending modes
Now you’re going to mess with the blending modes and Opacity to taste on the smoke layer. I liked Color Dodge at 100% personally, but Normal at around 50% Opacity was also not bad.
Masking
To reduce the hard edges of the smoke and make it feel more like it is originating from the gem, you may want to adjust the size and also mask out the edges.
Click the oval icon and use the handles on the blue circle to place the mask. You’ll also want to adjust the mask expansion and Opacity until it is blending well, but more importantly adjust the Mask Feather control so you lose the hard edge of the mask and help it blend into the background.
For oddly shaped objects, you’d need to draw the mask by hand with the pen tool. This doesn’t have to be perfect if you’re going to be feathering the edge anyway. Hard edges will require that level of precision.
Don’t be afraid to swap out the smoke too! This is why I have a hard drive full of random footage like this and why people pay for stock footage libraries. Sometimes an asset just isn’t working, so it helps to have variations of the same thing.

Next, I thought it would be more interesting if the gem had some kind of motion going on.
You could use a glow or lens flare for this or a zillion other things. I chose to use some footage of fire to add a hint of motion.
To blend the fire with the gem, you can use the exact same trick as the smoke. Place the fire footage on a layer over the jewelry and use an Opacity mask directly over the gem so it only appears in that place.
Then, I changed the Blending Mode to Luminosity
I also Keyframed the Opacity of the fire layer to move up and down between about 25% and 50% to give the gem a faux-glow effect. You could also grab footage of some glowing light instead and probably get a similar result.
Final Touch- Texture
If you’re really ambitious with this kind of thing, you could mask around the ring and completely replace the background with something moving.
A quicker solution is to layer in some kind of texture. In this case I reduced the Opacity of the ring and under it, added a layer with some footage of dusk particles and smoke embers to add some subtle motion. To make it blend with the grey background, I simply use the Fast Color Corrector and desaturated it completely. Done.
This texture trick is one of those little things that you never notice until someone points it out and then you see it everywhere.
Overall, fairly simply effect but worth your time to learn to do or make sure your video editor can do.
Next up will be a more After Effects heavy edit so stay tuned.
